Live Trading Training – Limited Seat Available
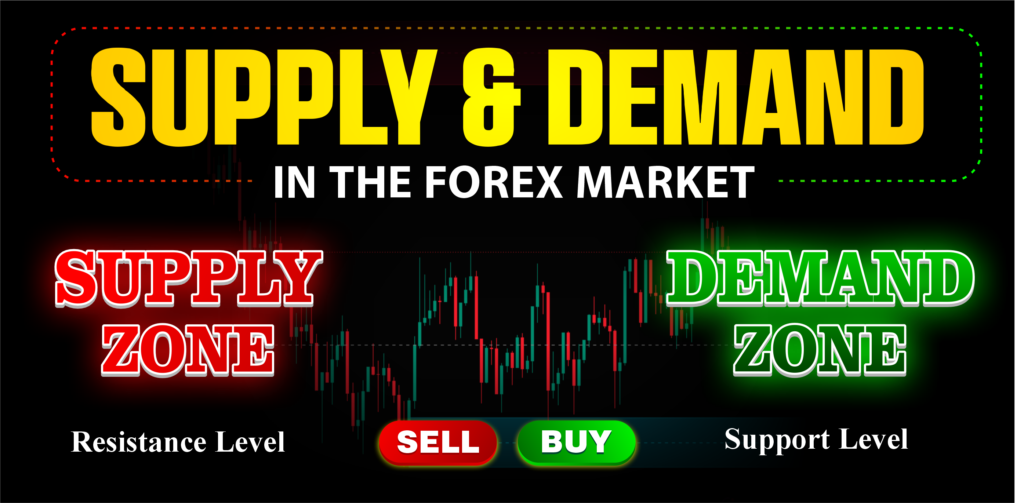
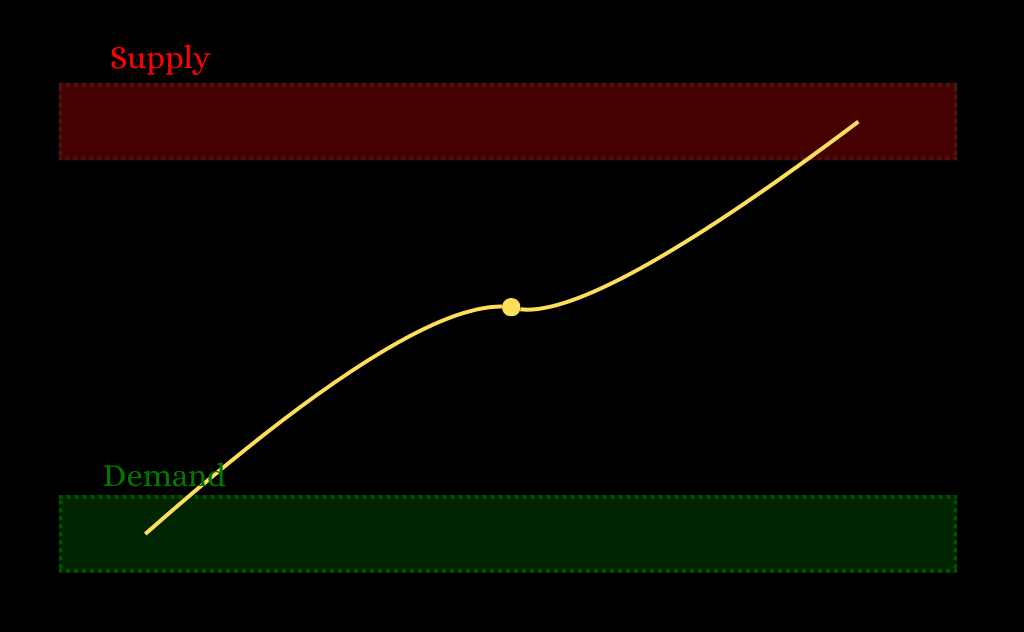
Master Supply & Demand
Learn how banks and smart money move the market using powerful Supply & Demand strategies. Trade with structure — not guesswork.
100+
Students Trained
5+
Years Expertise
The Hard Truth
WHY 90% of Traders FAIL
Most traders lose not because of bad luck — but because they don’t understand what truly moves price.
Chasing Lagging Indicators
RSI, MACD, and moving averages always lag price. By the time they signal, smart money has already moved.
Missing Institutional Zones
Random support/resistance levels don't reveal where banks and institutions are placing massive orders.
Emotional Trading Decisions
Without a structured framework, fear and greed control your entries, leading to impulse buys and panic sells.
Poor Risk Management
Wide stop losses, incorrect position sizing, and chasing the market destroy capital faster than any bad trade.
The solution? Learn how institutional players create Supply & Demand zones — and trade with them, not against them.
The Foundation
Understanding Supply & Demand
Banks and institutions leave footprints on every chart. Learn to read them and trade alongside the smartest money in the market.
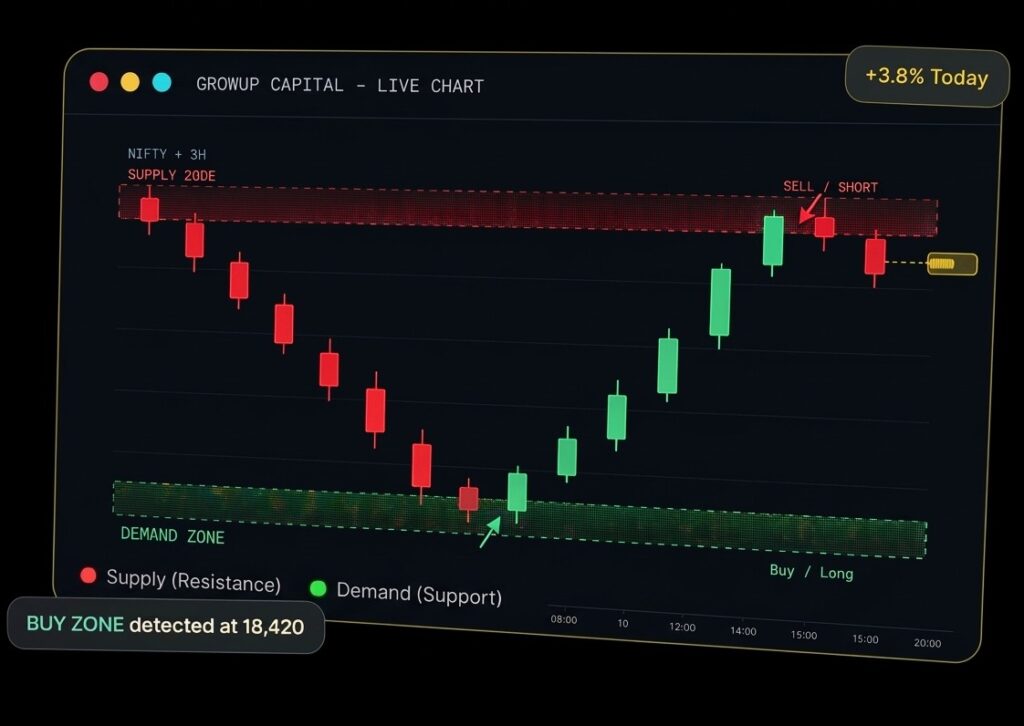
BUY ZONE
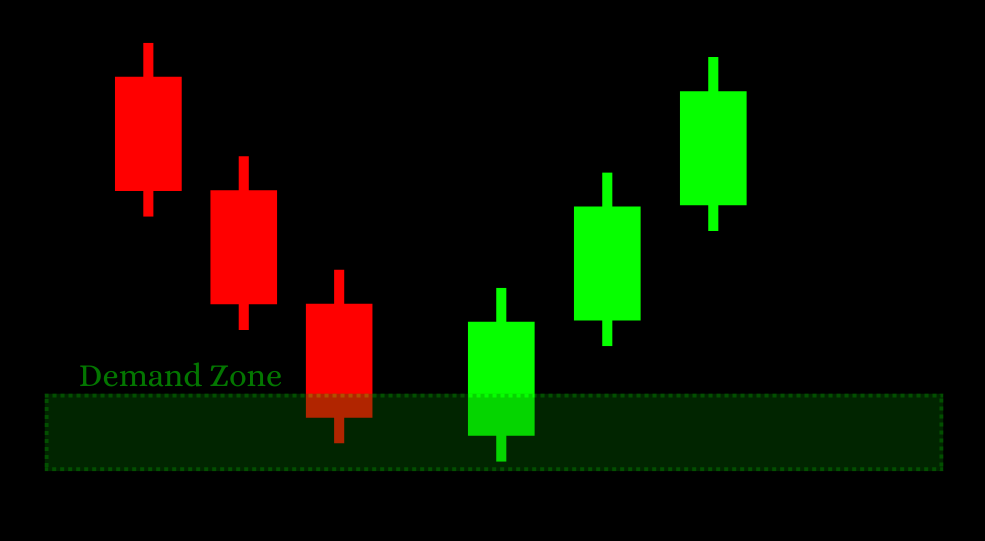
Demand Zone
Where Institutions BUY
A price area where institutional buyers aggressively accumulated large positions. When price returns here, we expect strong buying pressure and upward moves.
- Strong impulsive move upward after the zone
- Price spent very little time in the zone
- Fresh zone — not previously tested
SELL ZONE
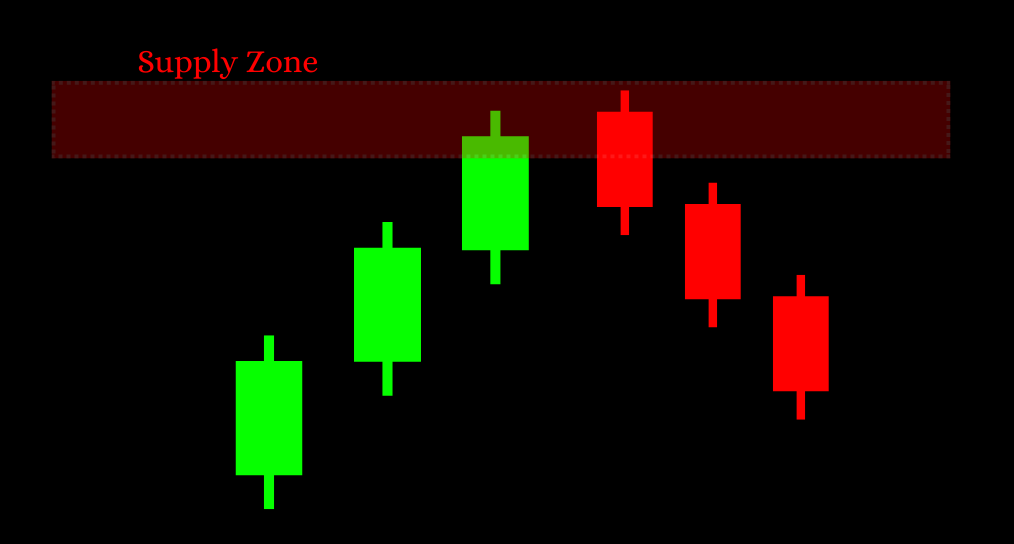
Supply Zone
Where Institutions SELL
A price area where institutional sellers distributed large positions. When price returns to this area, expect heavy selling pressure and downward moves.
- Strong impulsive move downward after the zone
- Base candles show accumulation/distribution
- Higher timeframe zones are more powerful
HIGH PROBABILITY
Zone Reaction
Price Behaviour at Zones
When price returns to an unmitigated zone, it reacts sharply. This reaction is the institutional order being filled — creating the highest-probability trading opportunities.
- Entry on return to zone + confirmation
- Stop loss placed just outside the zone
- Target the next significant zone for R:R
The Playbook
The Smart Way to Identify High-Probability Zones
A repeatable 4-step framework used by institutional traders to consistently extract profits from the market.
Identify Fresh Zones
Scan higher timeframes (Daily/4H) for untested supply and demand areas. Fresh zones — those that price has never revisited — carry the highest probability.
Confirm Impulsive Move
A legitimate zone is always created by a strong, fast, impulsive candle away from the area. The stronger the move, the more institutional interest was present.
Wait for Zone Return
Patience is your edge. Wait for price to return to the zone. At the zone, look for a reaction candle or flip pattern to confirm the zone is still valid.
Manage Risk Precisely
Place your stop loss just outside the zone boundary. Target the next significant opposing zone. A 1:3 risk-to-reward ratio turns even a 40% win rate profitable.
This 4-step system works on Stocks, Forex, Crypto — any market with price action.
Your Transformation
What You'll Learn
A complete transformation from reactive, indicator-driven trading to proactive, institutional-grade market analysis.
- Identify Institutional Zones
- Precision Entry Timing
- Structured Risk Control
- Read Market Structure
- Multi-Timeframe Analysis
- Join a Structured Community
Spot exactly where banks and institutions have placed orders — before price reaches them.
Enter trades at the highest-probability moments, eliminating random entries driven by noise.
Learn a rule-based system that protects capital and maximizes reward-to-risk on every trade.
Understand higher highs, lower lows, and how institutional order flow creates trends.
Align the Daily, 4H, and 1H timeframes for confirmation trades with maximum conviction.
Trade alongside 500+ disciplined traders sharing live zone analysis and real market setups.
Social Proof
Real Results from Real Traders
Join hundreds of students who transformed their trading using our proven Supply & Demand methodology.
"Before this course, I was losing money every month chasing indicators. After learning Supply & Demand zones, I finally understand why price moves. My win rate went from 35% to 68% in 3 months."
"I was skeptical at first, but the concepts are so logical and clear. The multi-timeframe approach changed everything for me. Now I only take 3-5 high quality trades per week and my profits are consistent."
"The community alone is worth 10x the course fee. Live zone analysis every morning, real market setups shared by 500+ traders. Growup Capital has genuinely changed how I look at charts forever."
4.9/5 average rating
Growup Capital
Trusted by 500+ traders across India
The Offer
Learn Supply & Demand with Real Market Examples
Premium Offer Bundle
₹25,000
₹9,999
60% OFF
One-time payment • Lifetime access
Limited Offer
What’s Included
- Live Trading Sessions (Weekly)
- Supply & Demand Zone Indicator
- Reading Plan PDF Templates
- Private Community Access (500+ Traders)
- Priority Email Support
- Multi-Timeframe Analysis Masterclass
- Risk Management & Position Sizing Module
Secure payment • 7-day money back guarantee
47 students enrolled this week • Price increases on next batch
Got Questions?
Frequently Asked Questions
Everything you need to know before enrolling.
Is this course suitable for complete beginners?
Absolutely. The course starts from the very basics of Supply & Demand theory before moving to advanced strategies. No prior trading experience is required. We build your foundation step-by-step.
Does this strategy work in Forex, Stocks, and Crypto?
Yes — Supply and Demand zones work on any liquid market including NSE/BSE stocks, Nifty, Bank Nifty, Forex pairs (USD/INR, EUR/USD), and major cryptocurrencies like BTC and ETH.
Which timeframe is best for Supply & Demand trading?
We teach a top-down approach starting from the Daily and 4-Hour charts to identify high-quality zones, then dropping to the 1-Hour or 15-minute for entries. This multi-timeframe confluence gives the highest probability setups.
How soon can I expect to see results after the course?
Most students see a significant improvement in their trade selectivity within 4-6 weeks of consistent practice. The key is applying the concepts to paper trading first before using real capital. Results vary based on practice.
Is there a refund policy?
Yes. We offer a 7-day no-questions-asked refund policy. If you complete the first two modules and feel the course is not right for you, simply email us and we will process your refund within 48 hours.
Will I get live mentorship or just recorded videos?
You get both. The course includes 12+ hours of structured video content plus weekly live trading sessions where our mentors analyze live markets, identify zones in real-time, and answer your questions directly.
Still have questions?
Email us at support@growupcapitalfx.com